

Hey there! As a supplier of NRS gate valves, I often get asked about how to install an actuator on an NRS gate valve. It might seem a bit daunting at first, but with the right steps and a bit of know - how, you can get it done smoothly.
Why Install an Actuator on an NRS Gate Valve?
Before we dive into the installation process, let's quickly talk about why you'd want to install an actuator on an NRS gate valve in the first place. Actuators automate the operation of the valve. Instead of manually turning the valve handle, an actuator can open or close the valve remotely or based on a pre - set control system. This is super useful in industrial settings where you need to control valves from a central location or in situations where quick valve operation is required.
Tools and Materials You'll Need
First things first, gather all the necessary tools and materials. You'll need:
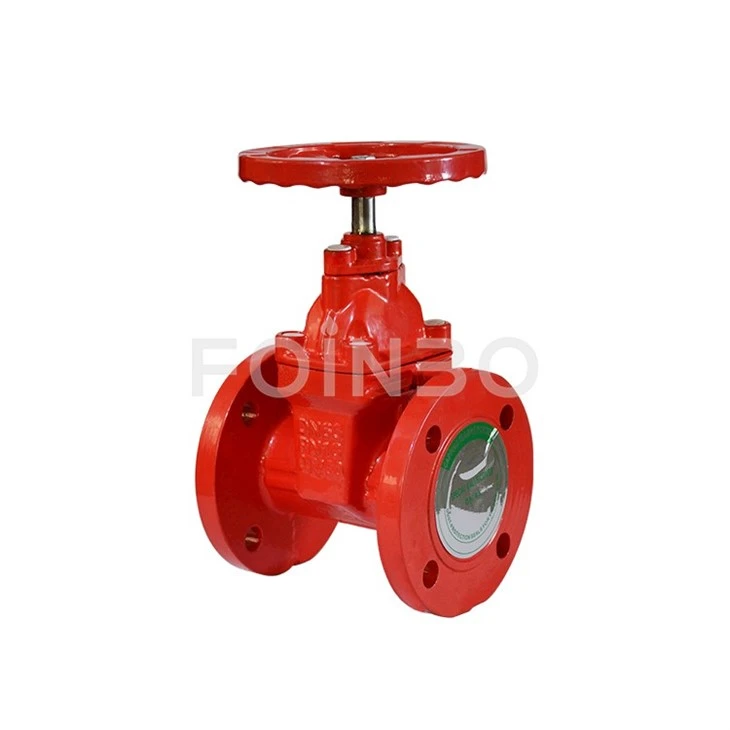

- An actuator that's compatible with your NRS gate valve. Make sure to check the valve's specifications and the actuator's compatibility before making a purchase.
- Wrenches of appropriate sizes for tightening bolts and nuts.
- A torque wrench to ensure proper tightening of fasteners.
- Sealant or gasket material to prevent leaks.
- Safety equipment like gloves and safety glasses.
Step 1: Prepare the Valve and Actuator
The first step is to make sure both the NRS gate valve and the actuator are clean and free from any debris. Inspect the valve for any damage or wear. Check the actuator for any loose parts or signs of damage during shipping.
If you're using a new actuator, it might come with some installation instructions. Read through them carefully. Make sure you understand how the actuator operates and what its control requirements are.
Step 2: Mounting the Actuator
Now, it's time to mount the actuator on the NRS gate valve. Most actuators are designed to be mounted directly on top of the valve's stem.
- Position the Actuator: Place the actuator on top of the valve stem in the correct orientation. Some actuators have specific markings or alignment guides to help you position them correctly. Make sure the actuator's drive mechanism aligns with the valve stem.
- Attach the Mounting Bracket: Many actuators come with a mounting bracket. Use the appropriate bolts and nuts to attach the bracket to the valve body. Tighten the bolts using a wrench, but don't over - tighten them at this stage. You can use a torque wrench to ensure the bolts are tightened to the recommended torque value specified in the actuator's installation manual.
- Connect the Actuator to the Valve Stem: There are different ways to connect the actuator to the valve stem, depending on the type of actuator. Some actuators use a coupling or a keyed connection. Follow the manufacturer's instructions to make this connection securely.
Step 3: Electrical or Pneumatic Connections (if applicable)
If your actuator is electrically or pneumatically operated, you'll need to make the appropriate connections.
Electrical Actuators
- Power Supply: Connect the actuator to a suitable power supply. Make sure to follow all electrical safety regulations. Use proper wiring and connectors. Check the voltage and current requirements of the actuator and ensure the power supply meets these specifications.
- Control Wiring: Connect the control wires according to the actuator's control diagram. This might involve connecting wires for opening, closing, and feedback signals. Double - check the wiring to avoid any short - circuits or incorrect connections.
Pneumatic Actuators
- Air Supply: Connect the actuator to a clean and dry air supply. Use appropriate air hoses and fittings. Make sure the air pressure is within the actuator's operating range.
- Control Valves: Install the necessary control valves to regulate the air flow to the actuator. These valves can be used to control the opening and closing speed of the valve.
Step 4: Testing the Installation
Once you've completed the physical and electrical/pneumatic connections, it's time to test the installation.
- Initial Checks: Before powering on the actuator or supplying air, visually inspect all the connections to make sure everything is secure. Check for any loose bolts, wires, or hoses.
- Functional Test: Power on the actuator or supply air to it, depending on the type of actuator. Slowly operate the actuator to open and close the valve. Observe the valve's movement. Make sure it opens and closes smoothly without any jamming or unusual noises.
- Leak Checks: Check for any leaks around the valve and actuator connections. If you find any leaks, tighten the connections or replace the sealant or gaskets as necessary.
Step 5: Final Adjustments and Calibration
After the initial testing, you might need to make some final adjustments and calibrations.
- Position Adjustment: If the valve doesn't open or close fully, you can adjust the actuator's position limit switches. These switches control the maximum opening and closing positions of the valve. Follow the actuator's manual to make these adjustments.
- Speed and Torque Adjustment: Some actuators allow you to adjust the opening and closing speed as well as the torque. Adjust these settings according to your specific requirements.
Tips and Tricks
- When tightening bolts, use a cross - tightening pattern to ensure even distribution of force.
- Keep all the installation instructions and documentation handy for future reference.
- If you're unsure about any step of the installation process, don't hesitate to contact the actuator or valve manufacturer's technical support.
Related Products
If you're interested in different types of NRS gate valves, we have a variety of options available. Check out our Grooved End Gate Valve, NRS Gate Valve Fire, and 3 Inch Gate Valve.
Conclusion
Installing an actuator on an NRS gate valve is a process that requires careful attention to detail. By following these steps and using the right tools, you can ensure a successful installation. If you have any questions about NRS gate valves or actuators, or if you're interested in purchasing our products, feel free to reach out to us for a procurement discussion. We're here to help you find the best solutions for your valve needs.
References
- Manufacturer's installation manuals for NRS gate valves and actuators.
- Industry standards and best practices for valve installation and actuator operation.